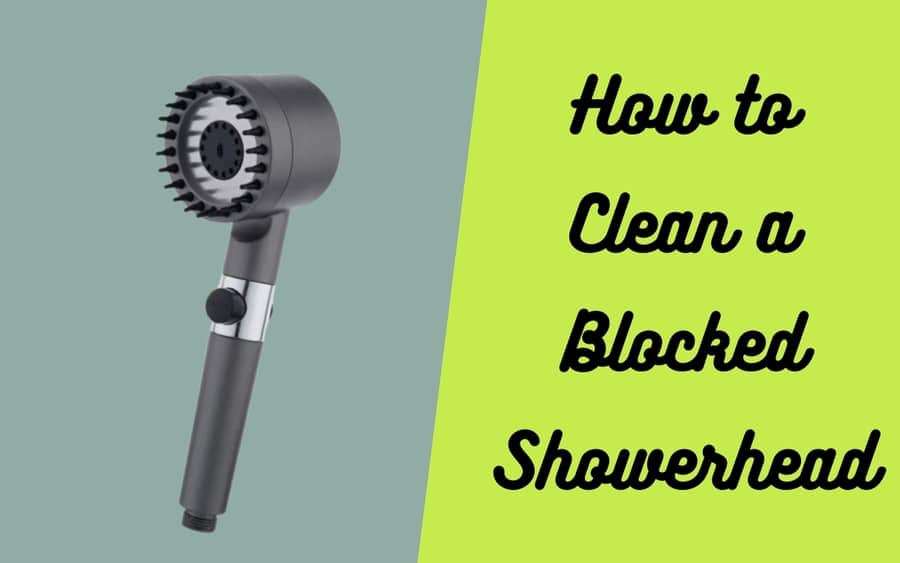
How to Clean a Blocked Shower Head (Even not putting it off?
Shower sprayer heads are an essential component of our daily hygiene routine. They provide us with a steady stream of water for our showers, allowing us to clean ourselves effectively and efficiently.
However, over time, these sprayer heads can become clogged and dirty, compromising their performance and effectiveness. This is why it is crucial to understand the importance of cleaning your shower sprayer head regularly.
The accumulation of dirt, mineral deposits, and soap scum can hinder the flow of water from the shower sprayer head. As a result, you may experience reduced water pressure or uneven distribution of water while showering.
Therefore, taking the time to clean your shower sprayer head is necessary to maintain optimal functionality and ensure a refreshing shower every time.
Homemade and Commercial Shower Head Cleaners: A DIY Guide

Vinegar Solution.
Vinegar, a natural and affordable cleaner, is prized for its non-toxic nature and versatility. Its acidity effectively dissolves mineral deposits, making it ideal for routine cleaning. While it has a strong odor, which can be a downside for some users, it remains a popular choice due to its eco-friendly properties.
For moderate buildup, soaking the shower head in a vinegar solution usually does the job efficiently.
Baking Soda
Baking soda is a gentle abrasive that excels at scrubbing away grime and mineral deposits. It’s safe, non-toxic, and widely available at a low cost. Though it might require more effort in scrubbing for stubborn deposits, its natural properties make it a preferred option for those looking for a chemical-free solution.
Lemon Juice
Lemon juice offers a natural way to dissolve mineral deposits. Its pleasant scent and eco-friendly nature make it appealing. However, it might require longer soaking times for stubborn buildup.
While not as potent as commercial cleaners, it’s a favorite among those preferring natural and environmentally friendly options.
Commercial Descalers

Specifically formulated for tough tasks, commercial descalers are potent and quick in removing stubborn limescale and mineral buildup. They are highly effective, especially for severe deposits, but they come with a downside, and pricier compared to natural alternatives.
CLR (Calcium, Lime, and Rust Remover)
CLR is a powerful commercial cleaner designed to tackle calcium, lime, and rust deposits swiftly. Its fast action makes it ideal for intense cleaning tasks. However, its strength comes with a caution – users must handle it carefully, wearing protective gear and working in well-ventilated areas.
Signs that your shower sprayer head needs cleaning
A clogged shower sprayer head can be a frustrating experience. It may seem like the water pressure in your shower has suddenly decreased, or the water might be spraying out in an uneven or erratic pattern. These are clear signs that your shower sprayer head is in need of a good cleaning.
Over time, mineral deposits, soap scum, and other debris can build up inside the sprayer head, obstructing the flow of water and affecting its performance. If you notice any of these issues, it’s time to roll up your sleeves and give your sprayer head a much-needed cleaning.
In this guide I will go through with two different methods:
- How to clean your showerhead with out taking it off? and,
- How to clean your showerhead after taking it off:
clean shower head without taking it off
It is a good news that you don’t always have to remove the shower head to clean it thoroughly. In this detailed guide, we’ll walk you through the steps to clean your shower head without taking it off. With a little time and effort, you can enjoy a revitalizing shower once again.
Gather Your Supplies
Before you start, gather the necessary supplies. You’ll need a plastic bag, white vinegar, or (other cleaning agents discussed above) a rubber band or a twist tie, a toothbrush, and a soft cloth. Make sure the toothbrush is old and clean – repurposing an old toothbrush is perfect for this job.
Prepare the Cleaning Solution:
Fill a plastic bag halfway with white vinegar. Vinegar is a natural cleaner that effectively breaks down mineral deposits and grime. If your shower head is exceptionally dirty, you can use a mixture of half water and half vinegar for added strength.
Secure the Vinegar-Filled Bag

Carefully place the bag over the shower head, ensuring that the nozzles are submerged in the vinegar. Use a rubber band or a twist tie to secure the bag in place. The shower head should be fully immersed in the vinegar solution for optimal cleaning.
Soak the Shower Head
Allow the shower head to soak in the vinegar solution for at least one to two hours. For stubborn buildups, you can leave it overnight. During this time, the vinegar will dissolve mineral deposits and grime, restoring the shower head’s functionality.
Scrub Away Residue
After soaking, remove the bag and use an old toothbrush to gently scrub the shower head’s nozzles. Be thorough but gentle to avoid damaging the shower head. The softened mineral deposits should come off easily.
Rinse and Polish
Rinse the shower head thoroughly with water to remove any remaining vinegar residue. Use a soft cloth to polish the shower head, leaving it clean and shiny.
By following these simple steps, you can effectively clean your shower head without the hassle of removing it. Regular maintenance using this method will ensure a consistent water flow and a revitalizing shower experience every time.
clean your showerhead after taking it off

1. Gathering the necessary materials for cleaning
To begin the cleaning process for your shower sprayer head, you will need to gather a few essential materials:
- A bucket or a basin large enough to hold the shower sprayer head. This will be used for soaking the sprayer head later on.
- Cleaning solution. There are various options available, as referred above.
- Soft-bristle brush or an old toothbrush. This will be used to scrub away any residue or build-up on the sprayer head. Make sure the brush you select is gentle enough to avoid scratching the surface of the sprayer head.
- Rubber gloves (especially when your using chemicals)
- Clean towel or cloth ready for drying and wiping down the sprayer head after the cleaning process is complete.
2. Removing the shower sprayer head from the hose

To begin the process of cleaning your shower sprayer head:
The first step is to remove it from the hose. This may seem like a daunting task, but it is actually quite simple. Start by locating the connection point between the sprayer head and the hose.
Depending on the design of your shower sprayer, you may need to twist, unscrew, or gently squeeze the connector to release the sprayer head.
Take care not to pull too forcefully as this could cause damage to either the sprayer head or the hose. Once the connection is released, carefully set aside the hose for now.
Now that the shower sprayer head is detached from the hose, take a moment to inspect both the head and the hose for any visible signs of dirt, grime, or mineral deposits. This visual inspection will help you gauge the level of cleaning required.
3. Soak the Shower Head in Vinegar/Cleaning Solution

Next, it’s time to give your shower sprayer head a good soak in a cleaning solution.
For a homemade solution, a mixture of equal parts white vinegar and warm water works wonders. If your using baking soda make a paste by mixing it with water.
The acidic properties of vinegar or baking soda help to dissolve mineral deposits and grime, leaving your sprayer head squeaky clean. Once you have your cleaning solution/paste ready, it’s time to move on to the next step.
Gently place the shower sprayer head into a container filled with the cleaning solution. Ensure that the sprayer head is completely submerged, allowing the solution to penetrate and work its magic. Let it soak for at least 30 minutes to an hour, depending on the level of build-up.
4. Using a brush to scrub away any residue or build-up
To effectively clean your shower sprayer head, grab a small brush with soft bristles. You can use a toothbrush, a small scrub brush, or even a dedicated shower sprayer cleaning brush. The key is to choose a brush that is small enough to fit into the crevices of the sprayer head, allowing you to scrub away any residue or build-up that has accumulated over time.
Gently scrub the sprayer head, paying special attention to the areas where build-up is most likely to occur, such as the nozzle openings and the base of the head. Use circular motions and apply light pressure to ensure that you are effectively removing any dirt or grime that may be clinging to the sprayer head.
Remember to be thorough but gentle, as scrubbing too aggressively may damage the sprayer head.
5. Reattaching the shower sprayer head to the hose
Once you have thoroughly cleaned your shower sprayer head, it is time to reattach it to the hose. Begin by inspecting the hose connection to ensure it is clean and free from any debris or residue. If needed, use a clean cloth or paper towel to wipe away any dirt or grime.
Next, take the shower sprayer head and align it with the hose connection. It should fit snugly and securely. Hold the sprayer head in place and carefully tighten the connection by turning it clockwise.
Use your hand to tighten it firmly, but be careful not to over-tighten, as this may cause damage to the threads. Once the connection feels secure, give it a gentle tug to ensure it is properly attached. Now, you are ready to enjoy your refreshed and clean shower sprayer head.
This is done and hope it solve your problem. Thanks and comments please I find it useful.

![7 Best Shower head to increase water pressure in 2024 [Tested & Reviewed]](https://homequipments.com/wp-content/uploads/2023/09/Best-Shower-head-250x156.jpg)