Professional Plumbing Services
Expert Plumbing Solutions You Can Trust
24/7 Emergency Repairs • Reliable Service • Licensed & Insured
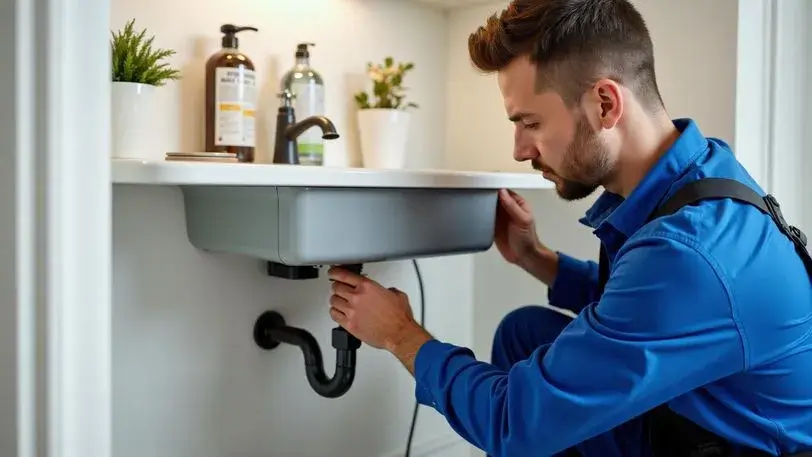
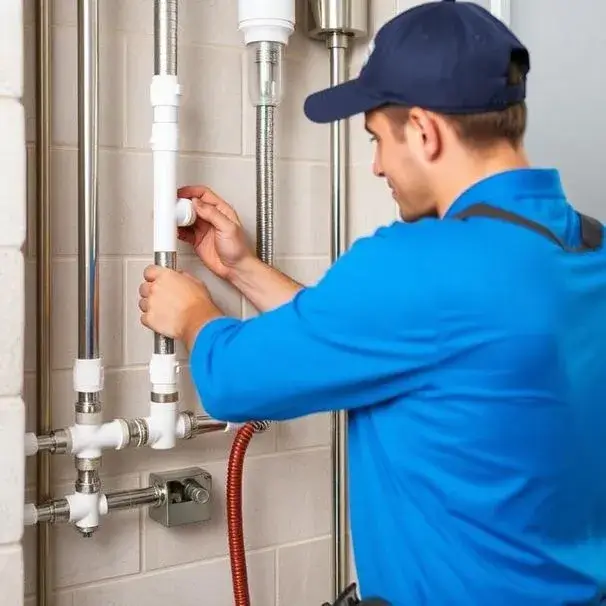
Our highly experienced plumbing technicians will quickly diagnose and solve your plumbing issues. We offer reliable repair, replacement, and installation services for a wide variety of plumbing systems and components.
Licensed & Insured
Fully certified professionals
24/7 Availability
Emergency service anytime
Experienced Team
Years of expertise
Quality Work
Satisfaction guaranteed
Our Plumbing Services
From emergency repairs to complete installations, we provide comprehensive plumbing services for your home or business.

Frequently Asked Questions
Find answers to common questions about our plumbing services
Yes — emergency plumbing help is available around the clock through the network; if you have a burst pipe, major leak, or sewer backup we can connect you to an on-call technician immediately.
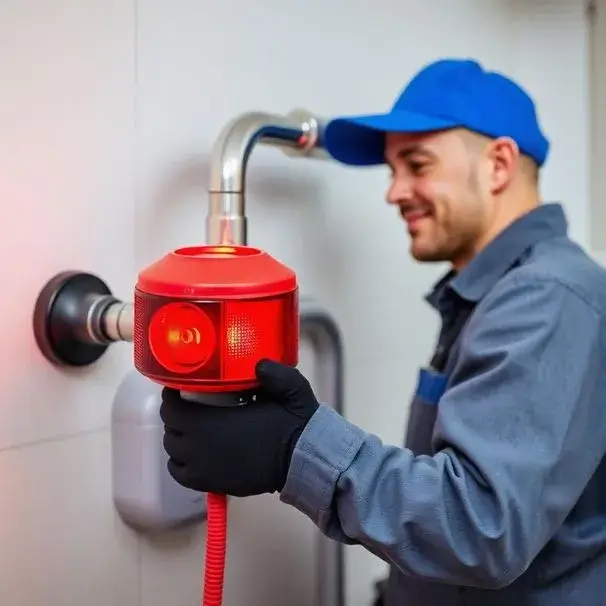
Technicians handle a wide range of work including drain cleaning, clog removal, leak detection and repair, water heater repair and replacement, sewer line services, fixture installation, sump pump service, camera inspections, and whole-house repiping.
Yes — all partners are required to be properly licensed and carry liability insurance; you should always ask the technician to show license and insurance information before work begins.
The dispatch fee covers the cost of connecting you to a local technician, travel to your home, and a basic on-site diagnosis; in many cases the fee is credited toward repairs if you proceed with the same provider.
Yes — technicians will provide a written estimate for repairs or replacements and will not proceed with major work without your approval; emergency or minor repairs may have flat-rate pricing explained upfront.
Arrival times depend on local availability and traffic, but many areas offer same-day appointments and faster emergency response; when you call you will be given an estimated arrival window.
Most providers accept cash, major credit and debit cards, and contactless payments; some partners also offer financing or payment plans for larger repairs — ask the technician or dispatcher for current options.
Use strainers in sinks and showers, avoid pouring grease or coffee grounds down drains, run hot water after greasy meals, limit hair down the shower drain, and schedule periodic professional drain cleaning or maintenance.
Stop using water, avoid contact with contaminated water, shut off the main water valve if safe, move valuables away from affected areas, and call for emergency plumbing service immediately while documenting the damage for insurance.
Need Plumbing Services Right Now?
Our team is standing by 24/7 to help with your plumbing emergency
Call Now: +1-844-578-2593